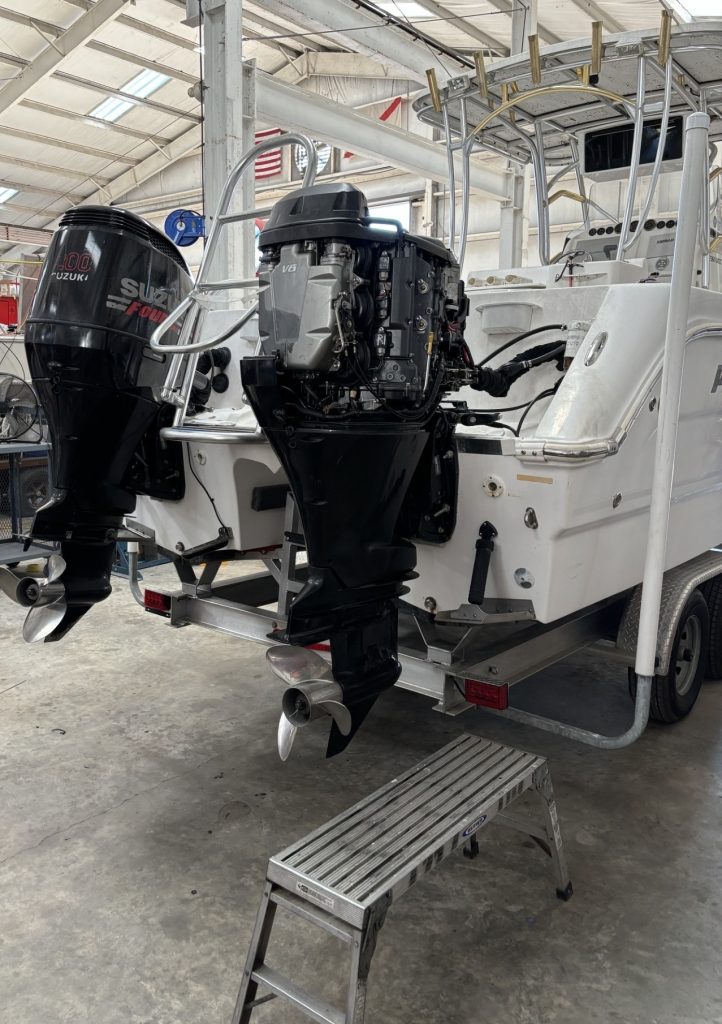
Outboard engines require regular maintenance to perform at their best. Among the essential maintenance tasks for outboard engines is regular oil filter changes. In this blog, we will discuss the importance of oil filter changes and how to perform them.

Not only is changing the oil in your outboard important but so is changing the filter. The filter prevents dirty oil and debris from contaminating the motor. The consequences of a dirty filter:
- Increased Wear: If dirt and debris contaminate the oil, it can negatively affect the lubricating properties, that lead to increased friction and damage to moving parts.
- Overheating: A dirty oil filter can cause the motor to overheat by limiting oil flow.
- Costly Repairs: A clean filter helps maintain performance by circulating clean oil throughout your outboard. If you leave the filter dirty for too long, it can affect proper circulation and lead to engine failure, which will cost significantly more than changing the filter.

When you change your oil filter, you must also change your oil. Regular oil and filter changes play a pivotal role in this upkeep, especially during extended periods of inactivity. It is important to always adhere to manufacturer-specific instructions, so make sure to review your outboard’s manual before beginning. According to Suzuki Marine, below are the following steps to change your oil and filter:
- Safety First: Before starting the oil change process, ensure your outboard is on a level surface and the engine is off and cool. Also, disconnect the battery to prevent any accidental starts.
- Draining the Old Oil: Carefully remove the drain plug to allow the old oil to drain into a suitable container. Once drained, lubricate the seal on the drain plug with oil and securely reinstall it.
- Replacing the Oil Filter: Place a cloth beneath the oil filter to catch any drips, then unscrew the old filter by turning it counterclockwise. Apply a thin layer of clean oil to the filter gasket, avoiding the use of grease. Attach the new filter until it’s snug and tighten according to your owner’s manual instructions.
- Refilling with Fresh Oil: Locate the oil fill hole (usually on the top or side of the engine) and remove the oil-fill cap and pour in the recommended amount of engine oil to the appropriate operating level. Check the oil level with the dipstick and add more oil if needed to reach the “full” mark.
- Disposing of Used Oil: Properly dispose of the used oil by taking it to a local recycling center or auto parts store that accepts used oil. Do not pour it down the drain or dispose of it in the environment.


Gulf Coast Suzuki is here to help with all your outboard maintenance needs. We sell ECSTAR engine oil by the case, as well as gear oil and water-resistant grease that can be shipped to your home, along with filters.
Our end-of-season service package ensures your outboard is in its best condition during the winter months. The package includes:
- Oil Change
- Oil Filter Change
- Fuel Filter Change
- Lower Unit Gear Oil
- New Oil Gaskets
- Computer Diagnostic Analysis
- Spark Plugs
Contact us to schedule a maintenance appointment, order engine oil or for parts and guidance for an at home oil change.


